Hybrid Reality Space Adventure
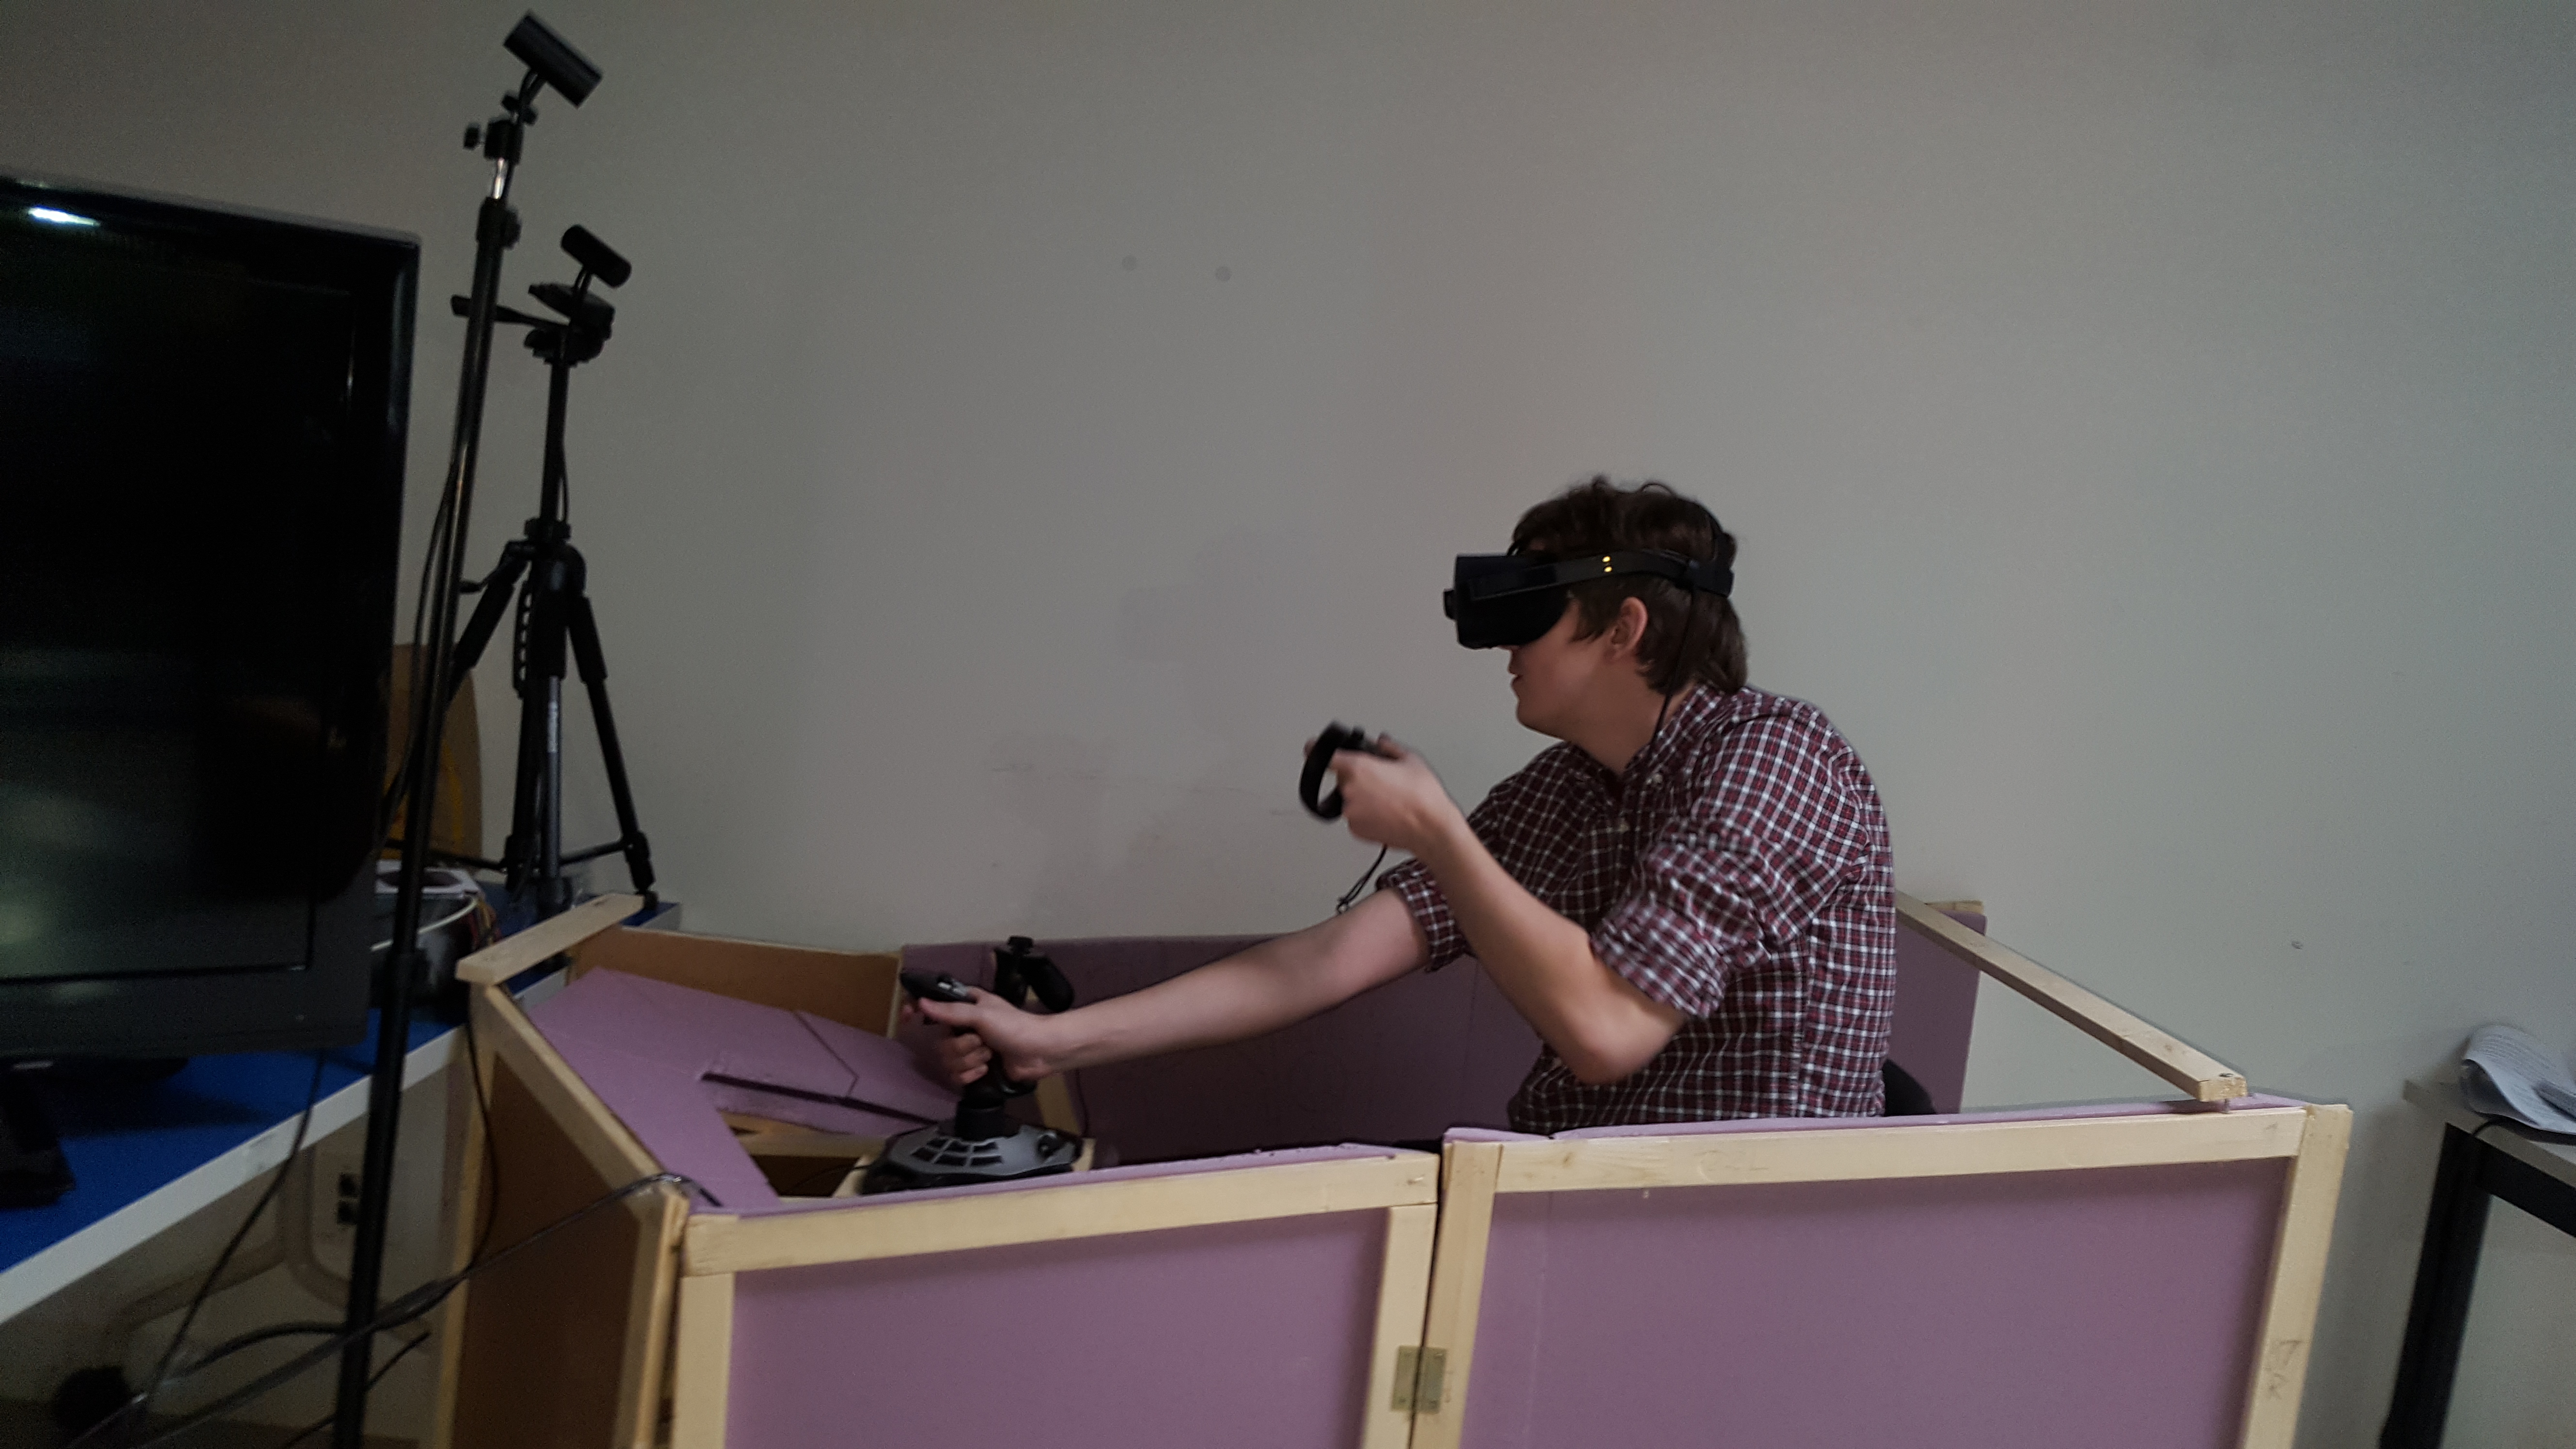
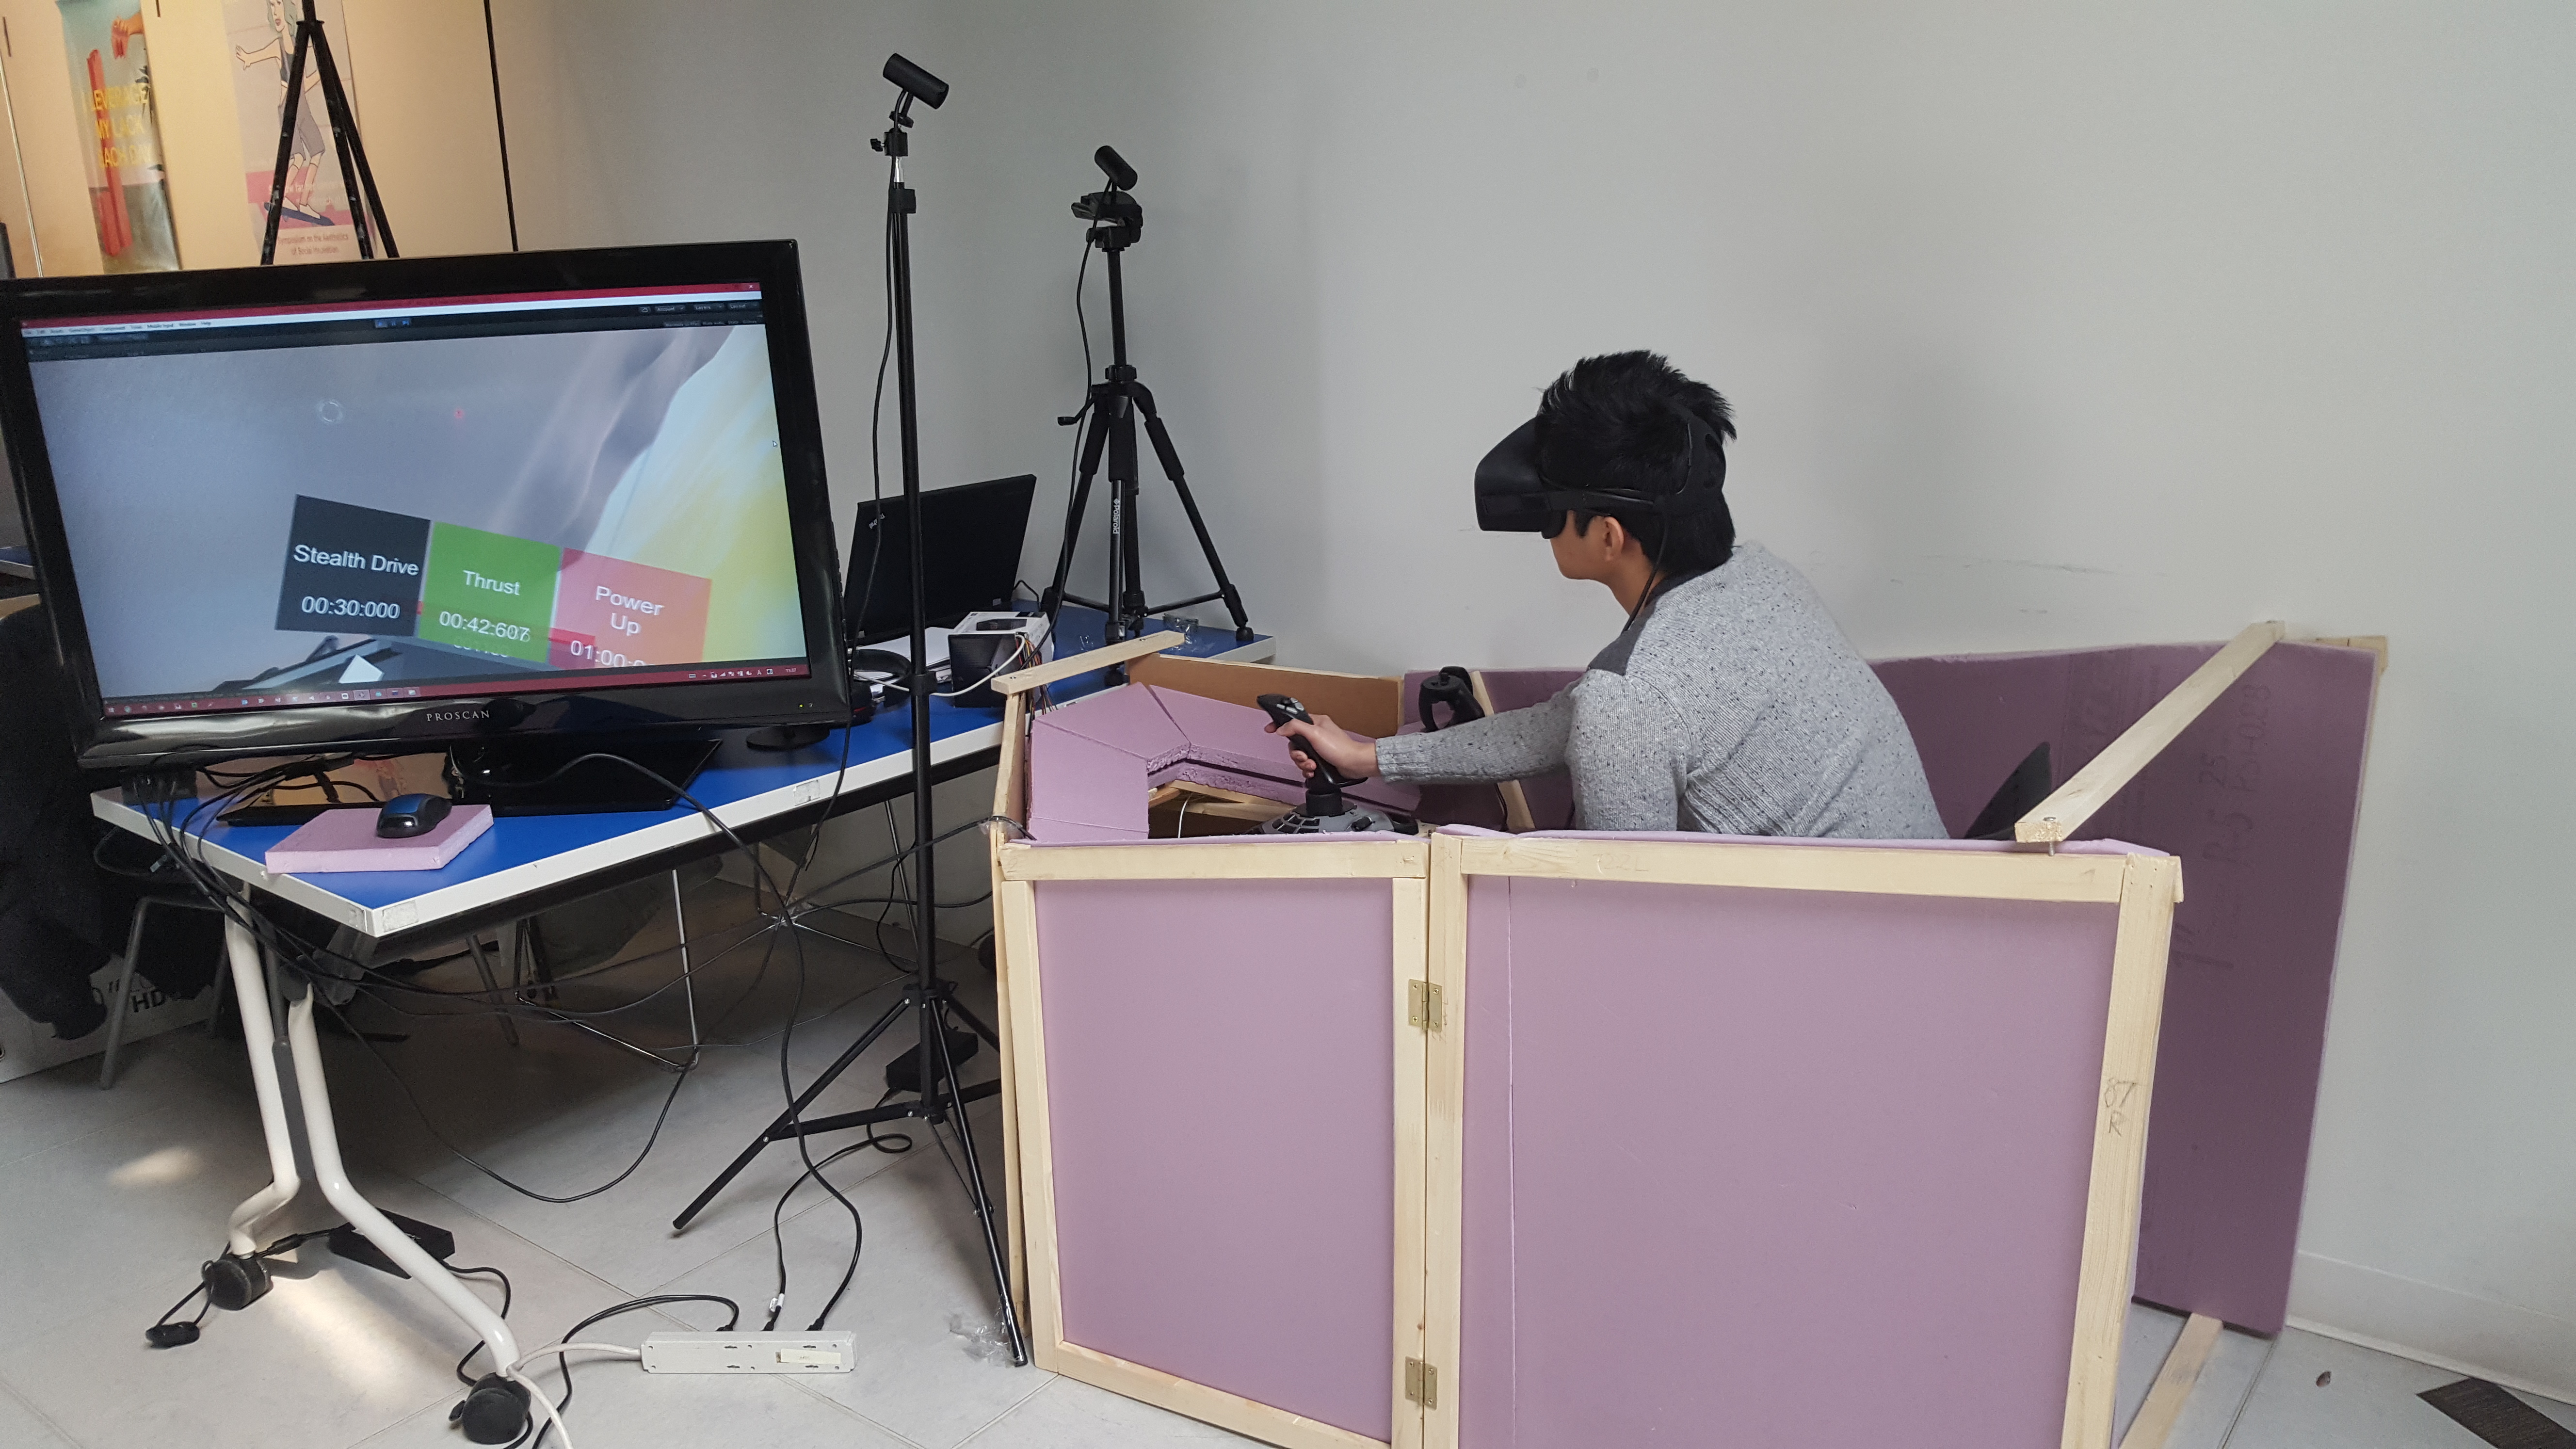
Hybrid Reality Space Adventure was a space themed hybrid reality tech demonstration that gave players the ability to change their environment for future players to experience. The experience took place inside a physical cockpit that is mapped in VR in attempt to enhance the experience through tactility. Players had access to a panel in front of them to access various functionality of the spaceship such as different weapons and maps. Oculus Touch motion controllers were also used to interact with holographic interfaces brought up through the panel and primary ship functionality such as shooting. The video playing in the back shows a friend playing before we put it on display for OCADU’s 2017 Graduation Exhibition.
The project was created by three people each with distinct roles. Roman Moskvichev created the physical ship and worked on 3D modeling. Joshua Salvador worked on the data-related code and I worked on the VR-related code. The HTC Vive was used initially in prototyping while the Oculus Rift used for the final installation.
The main programming language I used to code the project.
The engine used.
Originally worked with the Vive to develop and test the game for VR. Switched to the Rift afterwards
Worked with the Rift and the OVR SDK.
Integrated so it could be used for piloting the ship.
Integrated for secondary ship commands
Worked on scripts to get input from the Arduino to Unity.
Used Git with Bitbucket for version control.
The IDE used with Unity.
Used for pseudo code and problem solving.
Used to manage tasks for myself and other members.
Used to manage progress and stages of the project.
The Alignment Process
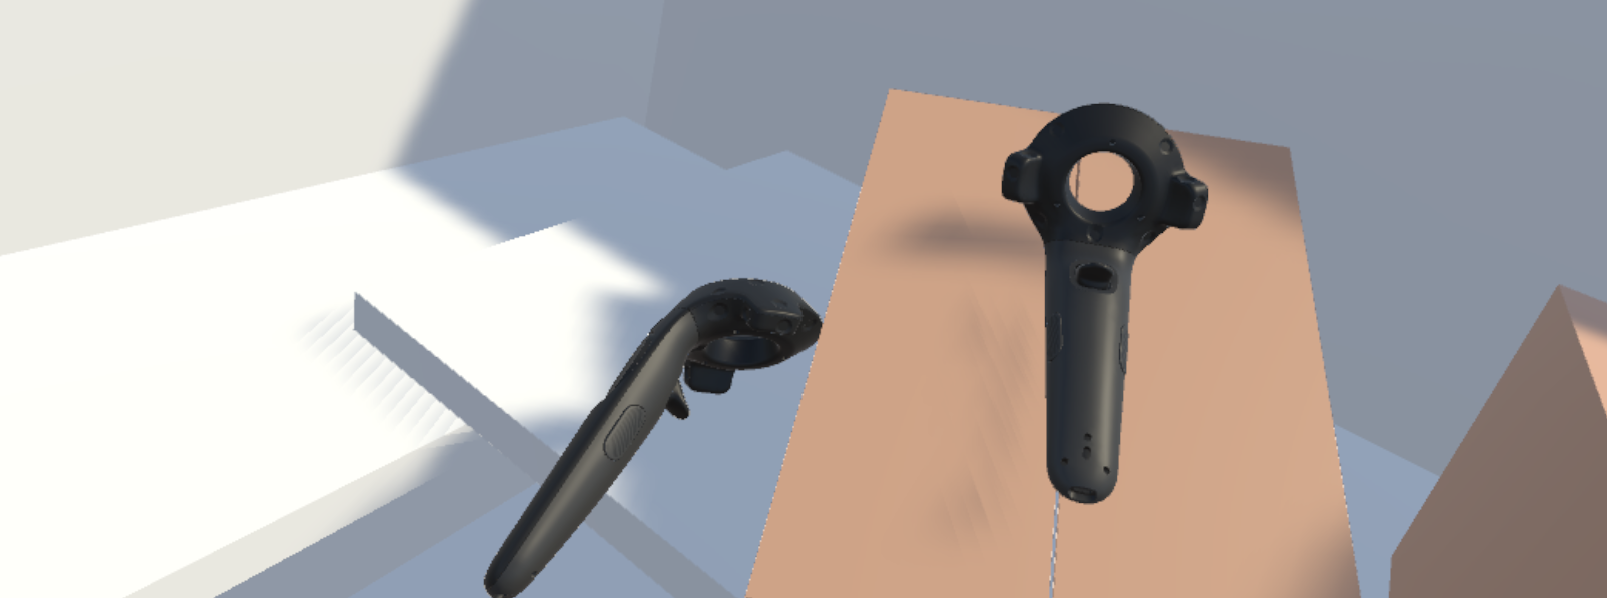
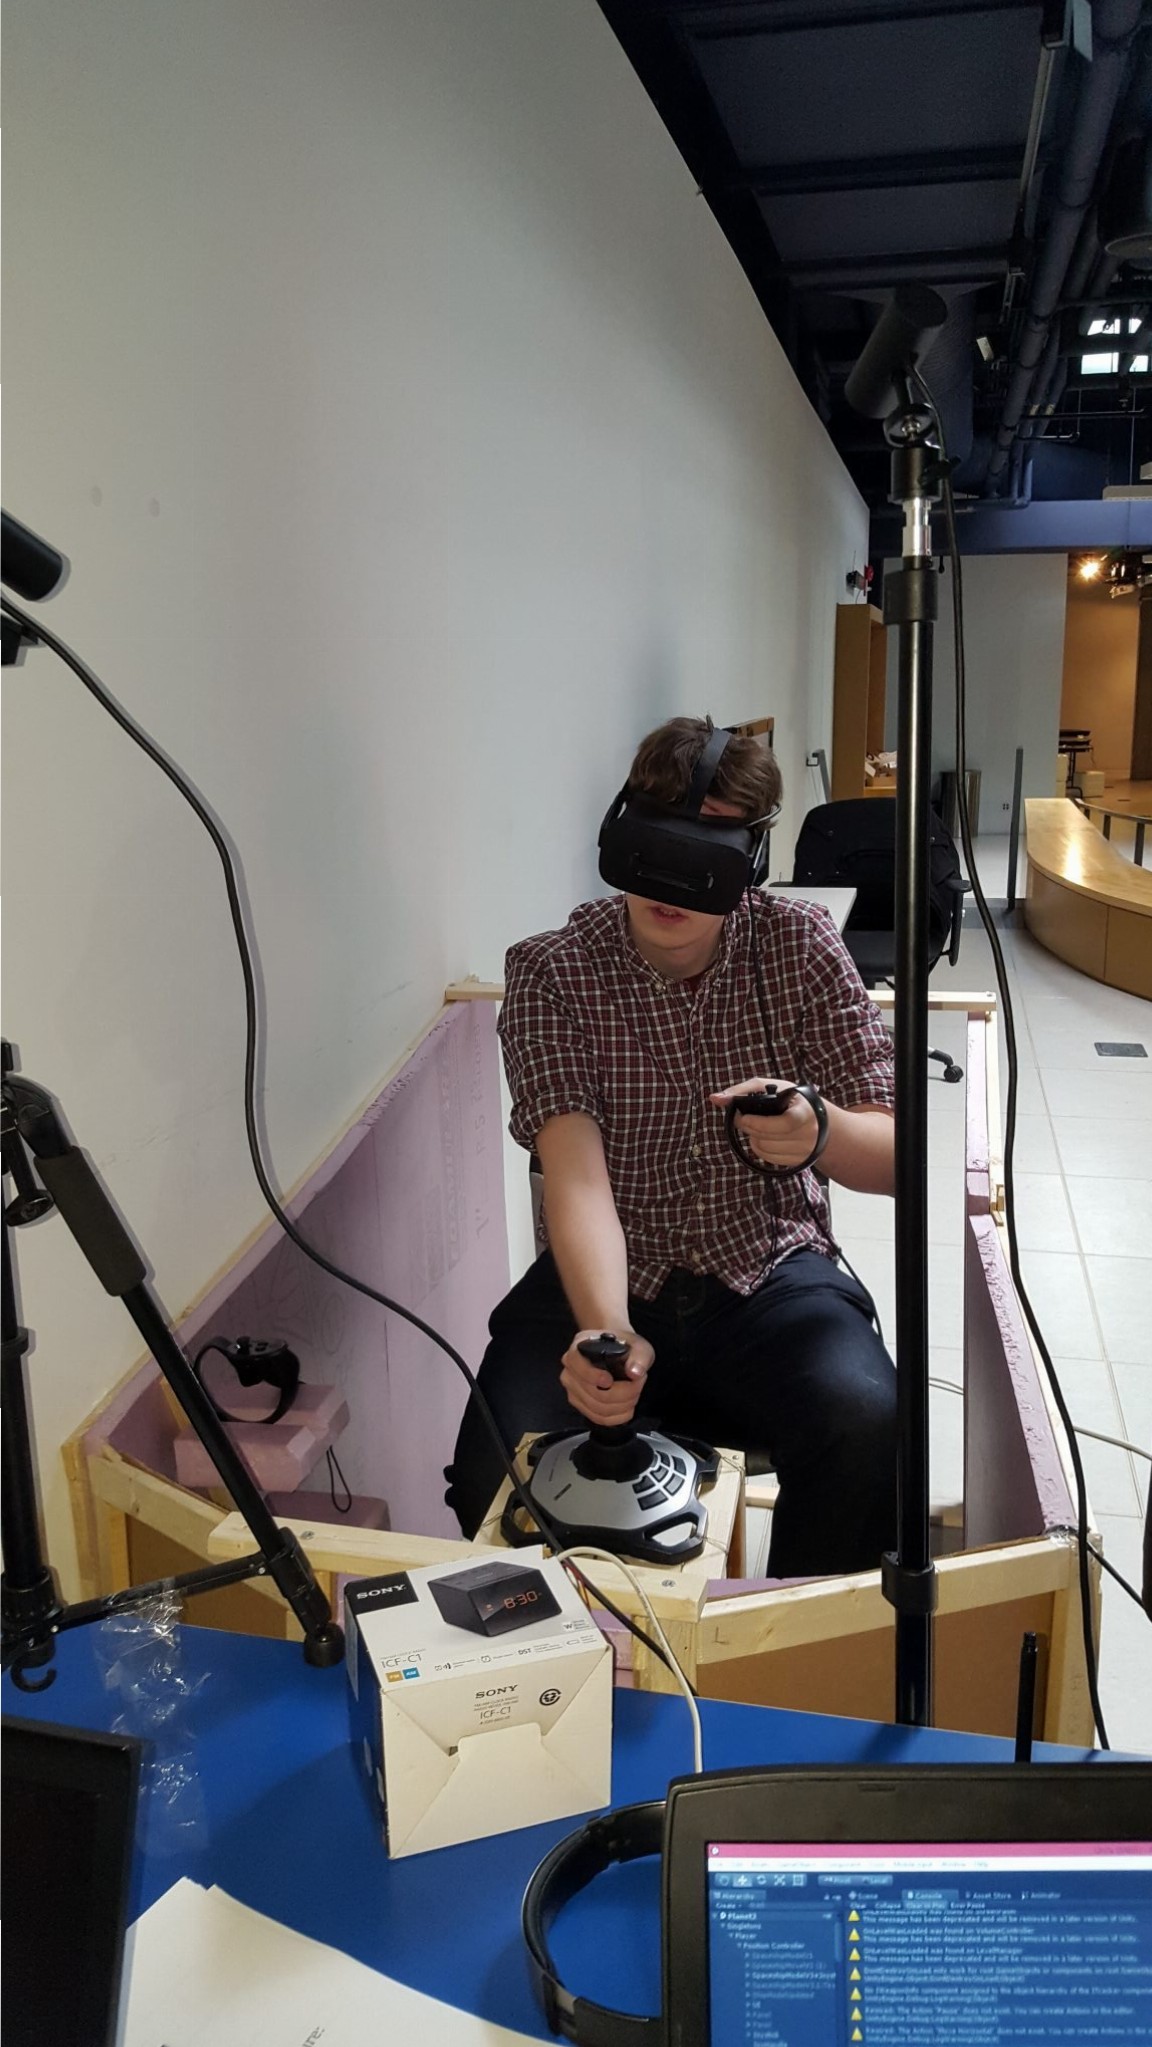
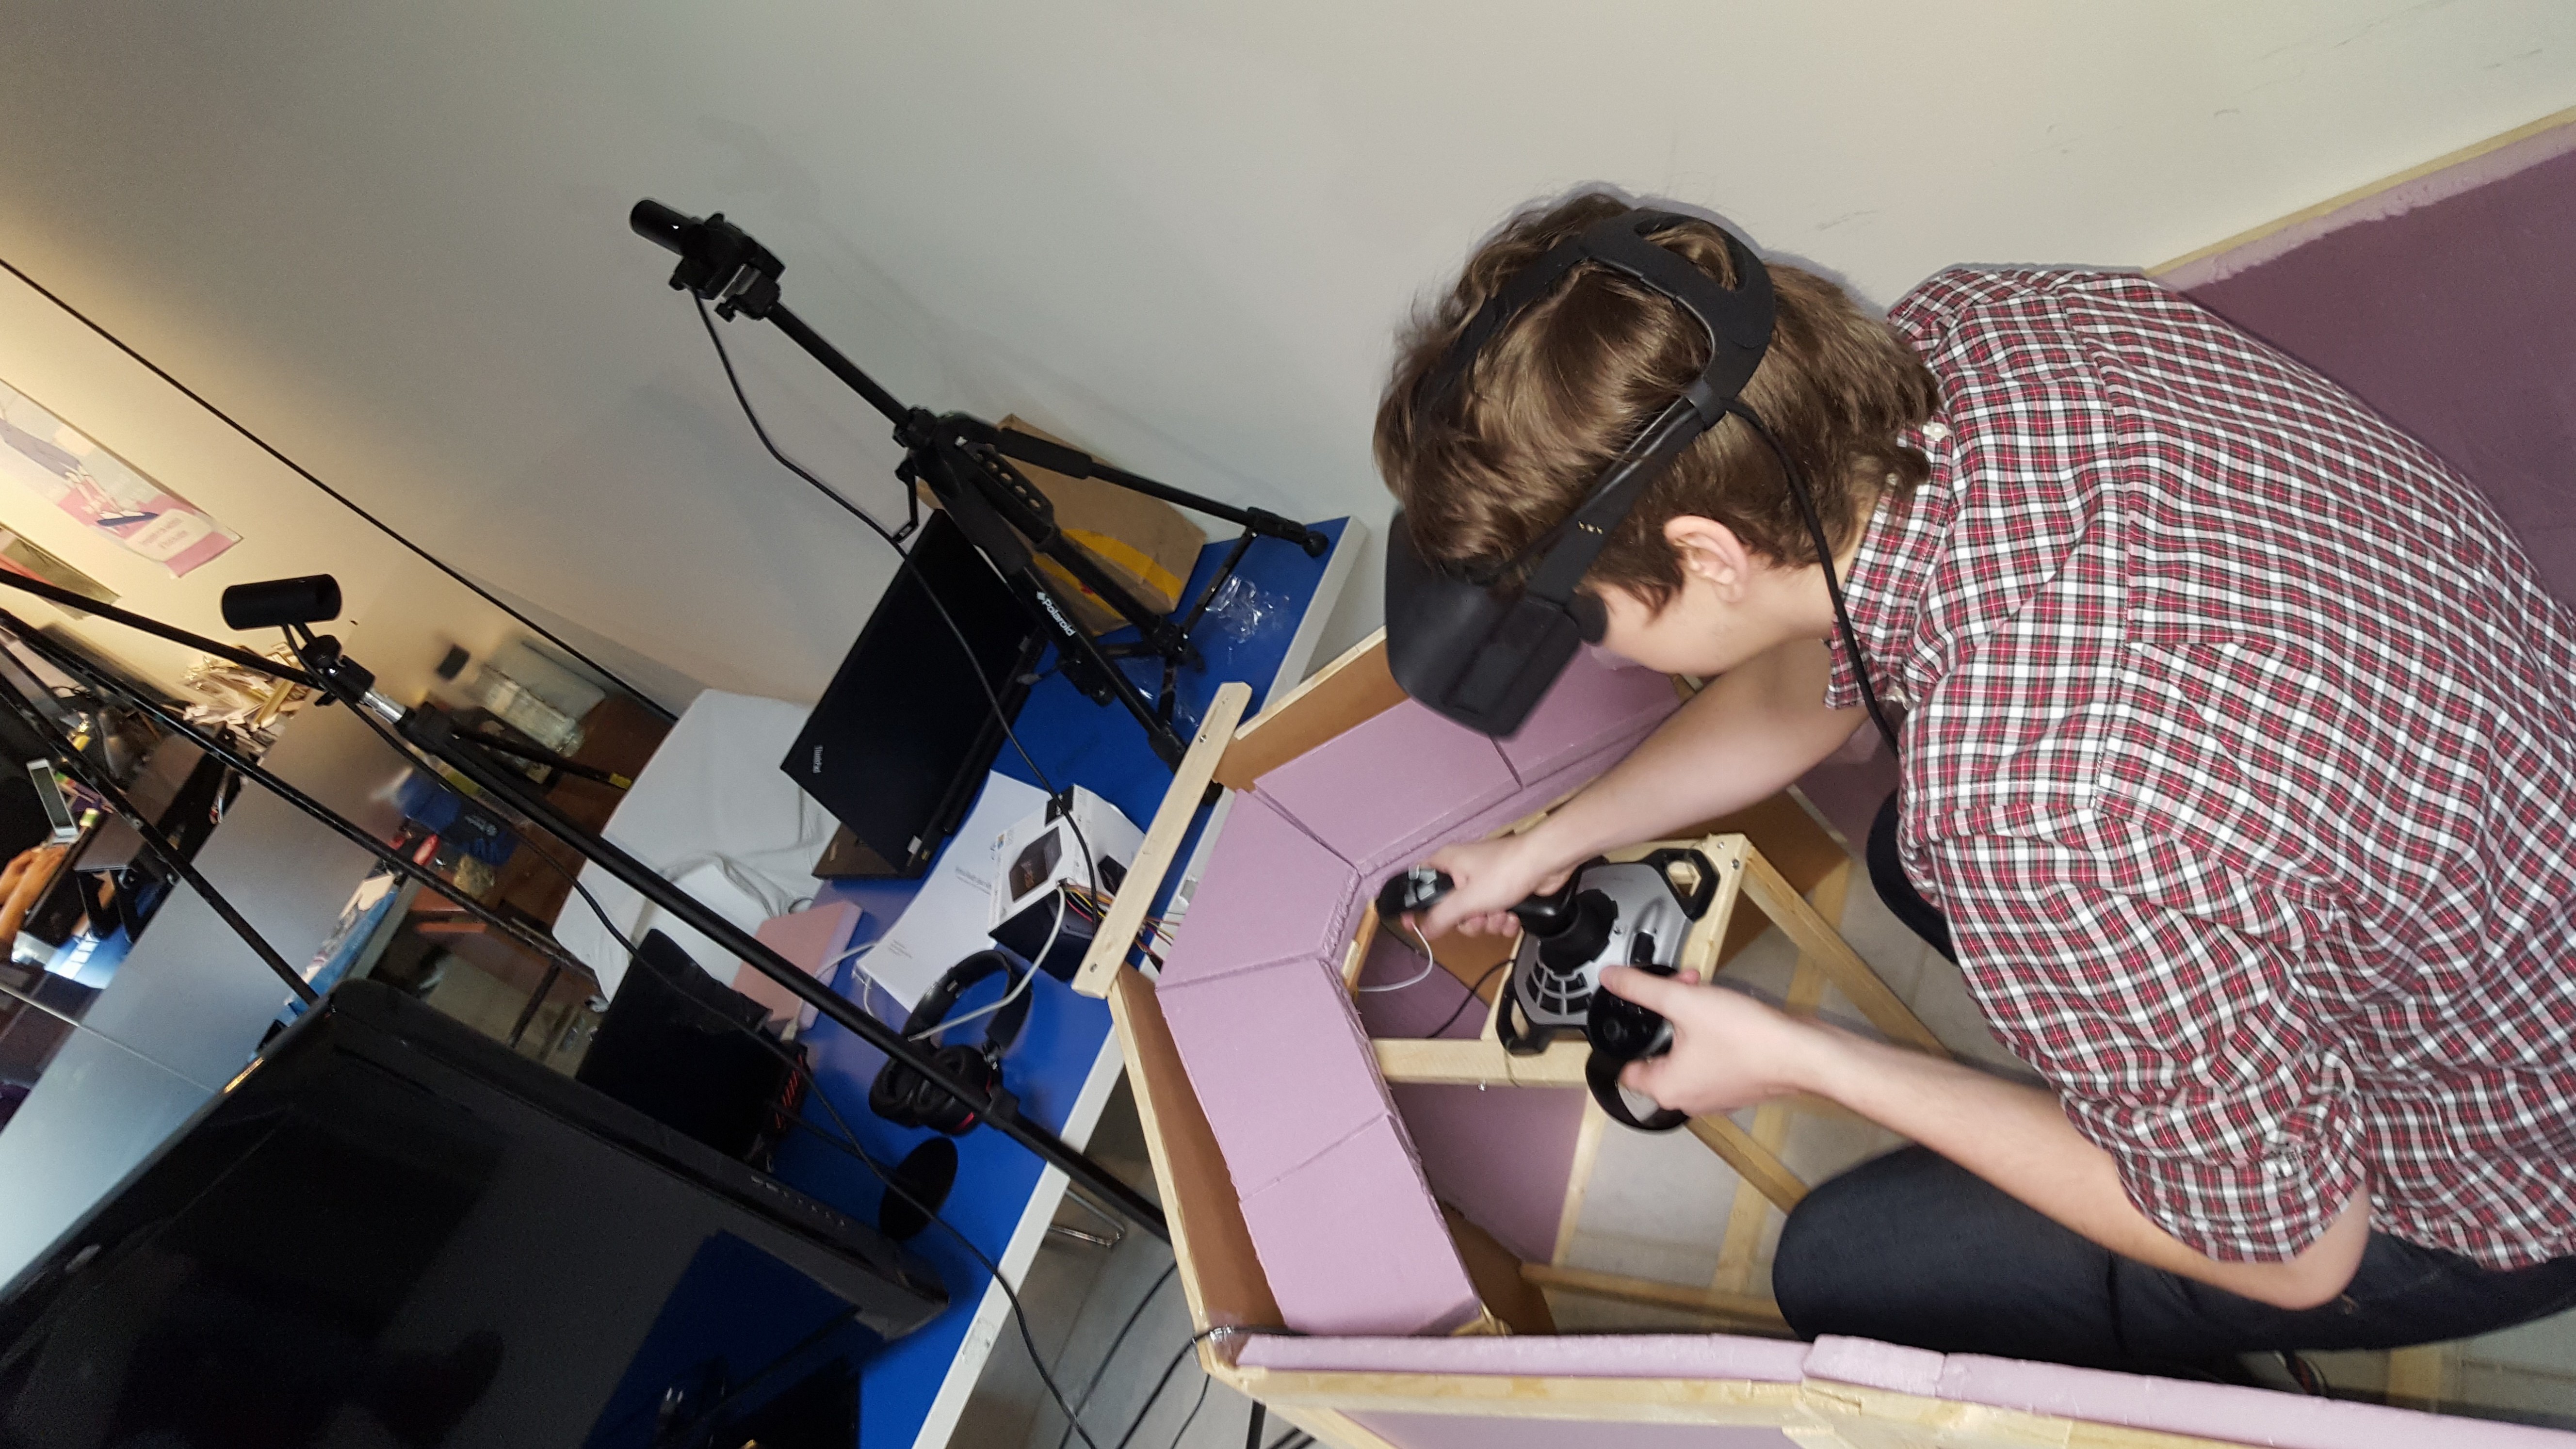
The photo on the right is Roman calibrating the cockpit and going through tests to make sure everything is aligned. Alignment was a major aspect of this project as any misalignment would break immersion. Initially, to figure out how I could align the cockpit I referenced an old VR article and decided to try taping a controller to a box to see if that can help with aligning things.
Using a box and a 3D model that Roman provided I found that using the other motion controller to feel along the edges of the box really helped with alignment. If the edge didn’t match I would adjust the box in-game. I ended up applying the same idea to the final cockpit except I didn’t need to tape a controller to it because the cockpit itself didn’t need to move.
In addition to aligning static parts I also had to figure out how to align things that moved such as the joystick and panel buttons. The solution to aligning the joystick and controller buttons was pretty simple but took a while to actually implement. Using the same method as aligning static components, I would move the joystick as far back and to the side as possible and then use a motion controller to align that position in-game. Afterwards I created a script that would interpolate between the default position to the fully moved position based on the joystick’s input. A similar process was used for the panel and Oculus Touch buttons.
Handling Arduino Input
Another challenge I ran into was getting multiple buttons on the panel to work. As far as I knew, the Arduino was only capable of sending one value to Unity at once. This worked well for telling Unity whether one button was pressed as I only needed to send either a 1 or 0. When it came to multiple buttons I tried changing the system so it would send a 1 for button 1, a 2 for button 2 and so forth. When nothing was pressed it would send a 0.
This worked but brought up another problem of displaying multiple buttons pressed at once. For example, if a player were to hold down buttons 1 and 2 the two buttons would rapidly press and release in-game. This is because the Arduino would be quickly sending 1’s and 2’s to Unity. When one was pressed the other one was assumed to not be pressed. To fix this I updated the system so it would send a 1 when button 1 was pressed and then send a 100 when it wasn’t pressed rather than a 0. This way Unity would be able to tell exactly which button was pressed rather than making assumptions.
Images